When I was young there was one robot that I always wanted, that was a Sony Aibo, unfortunately the closest I ever got was playing with an ERS-7 at an after school club. I still don’t have a Sony Aibo and even though I keep looking at the ERS-1000 I would have to do some amazing mental gymnastics to be able to justify getting one.
Soon after the Aibo was released Silverlit developed the i-Cybie, a cheaper and less sophisticated robot dog. I also never got one of these at the time either. However, thanks to having a bit of spare time due to Covid and being a bit bored I browsed ebay and found one boxed in great condition, and more importantly the battery was still holding its charge. When the i-Cybies were first released there was a mistake in the manual that told people to charge the battery for much longer than required that inevitably damaged a large amount of the batteries. I also acquired a slightly rare walk-up charger for the dog, and the cartridge needed for it. With the walk-up charger when the dog needs charging it will attempt to locate the charger and then plug itself in.
Controlling the i-Cybie
Although the i-Cybie does have some limited autonomous behaviour, the main way to control it is via the IR Remote Control that comes with the dog. The remote itself is fairly plane, with a set of numbers and a couple of other buttons that with different combinations will make the dog perform tricks and set various modes.
After playing with the dog for a bit and getting bored of reading through the manual each time to remember what each button on the remote did, I decided it was time to bring the i-Cybie into the modern mobile web app world. Using an ESP8266 WeMos D1 Mini I made an IR blaster that runs some web services that copy most of the functions of the original remote, then as an excuse to learn Angular I built a small web app to make it easier and friendlier to control the i-Cybie.
WeMos D1 Mini IR Blaster
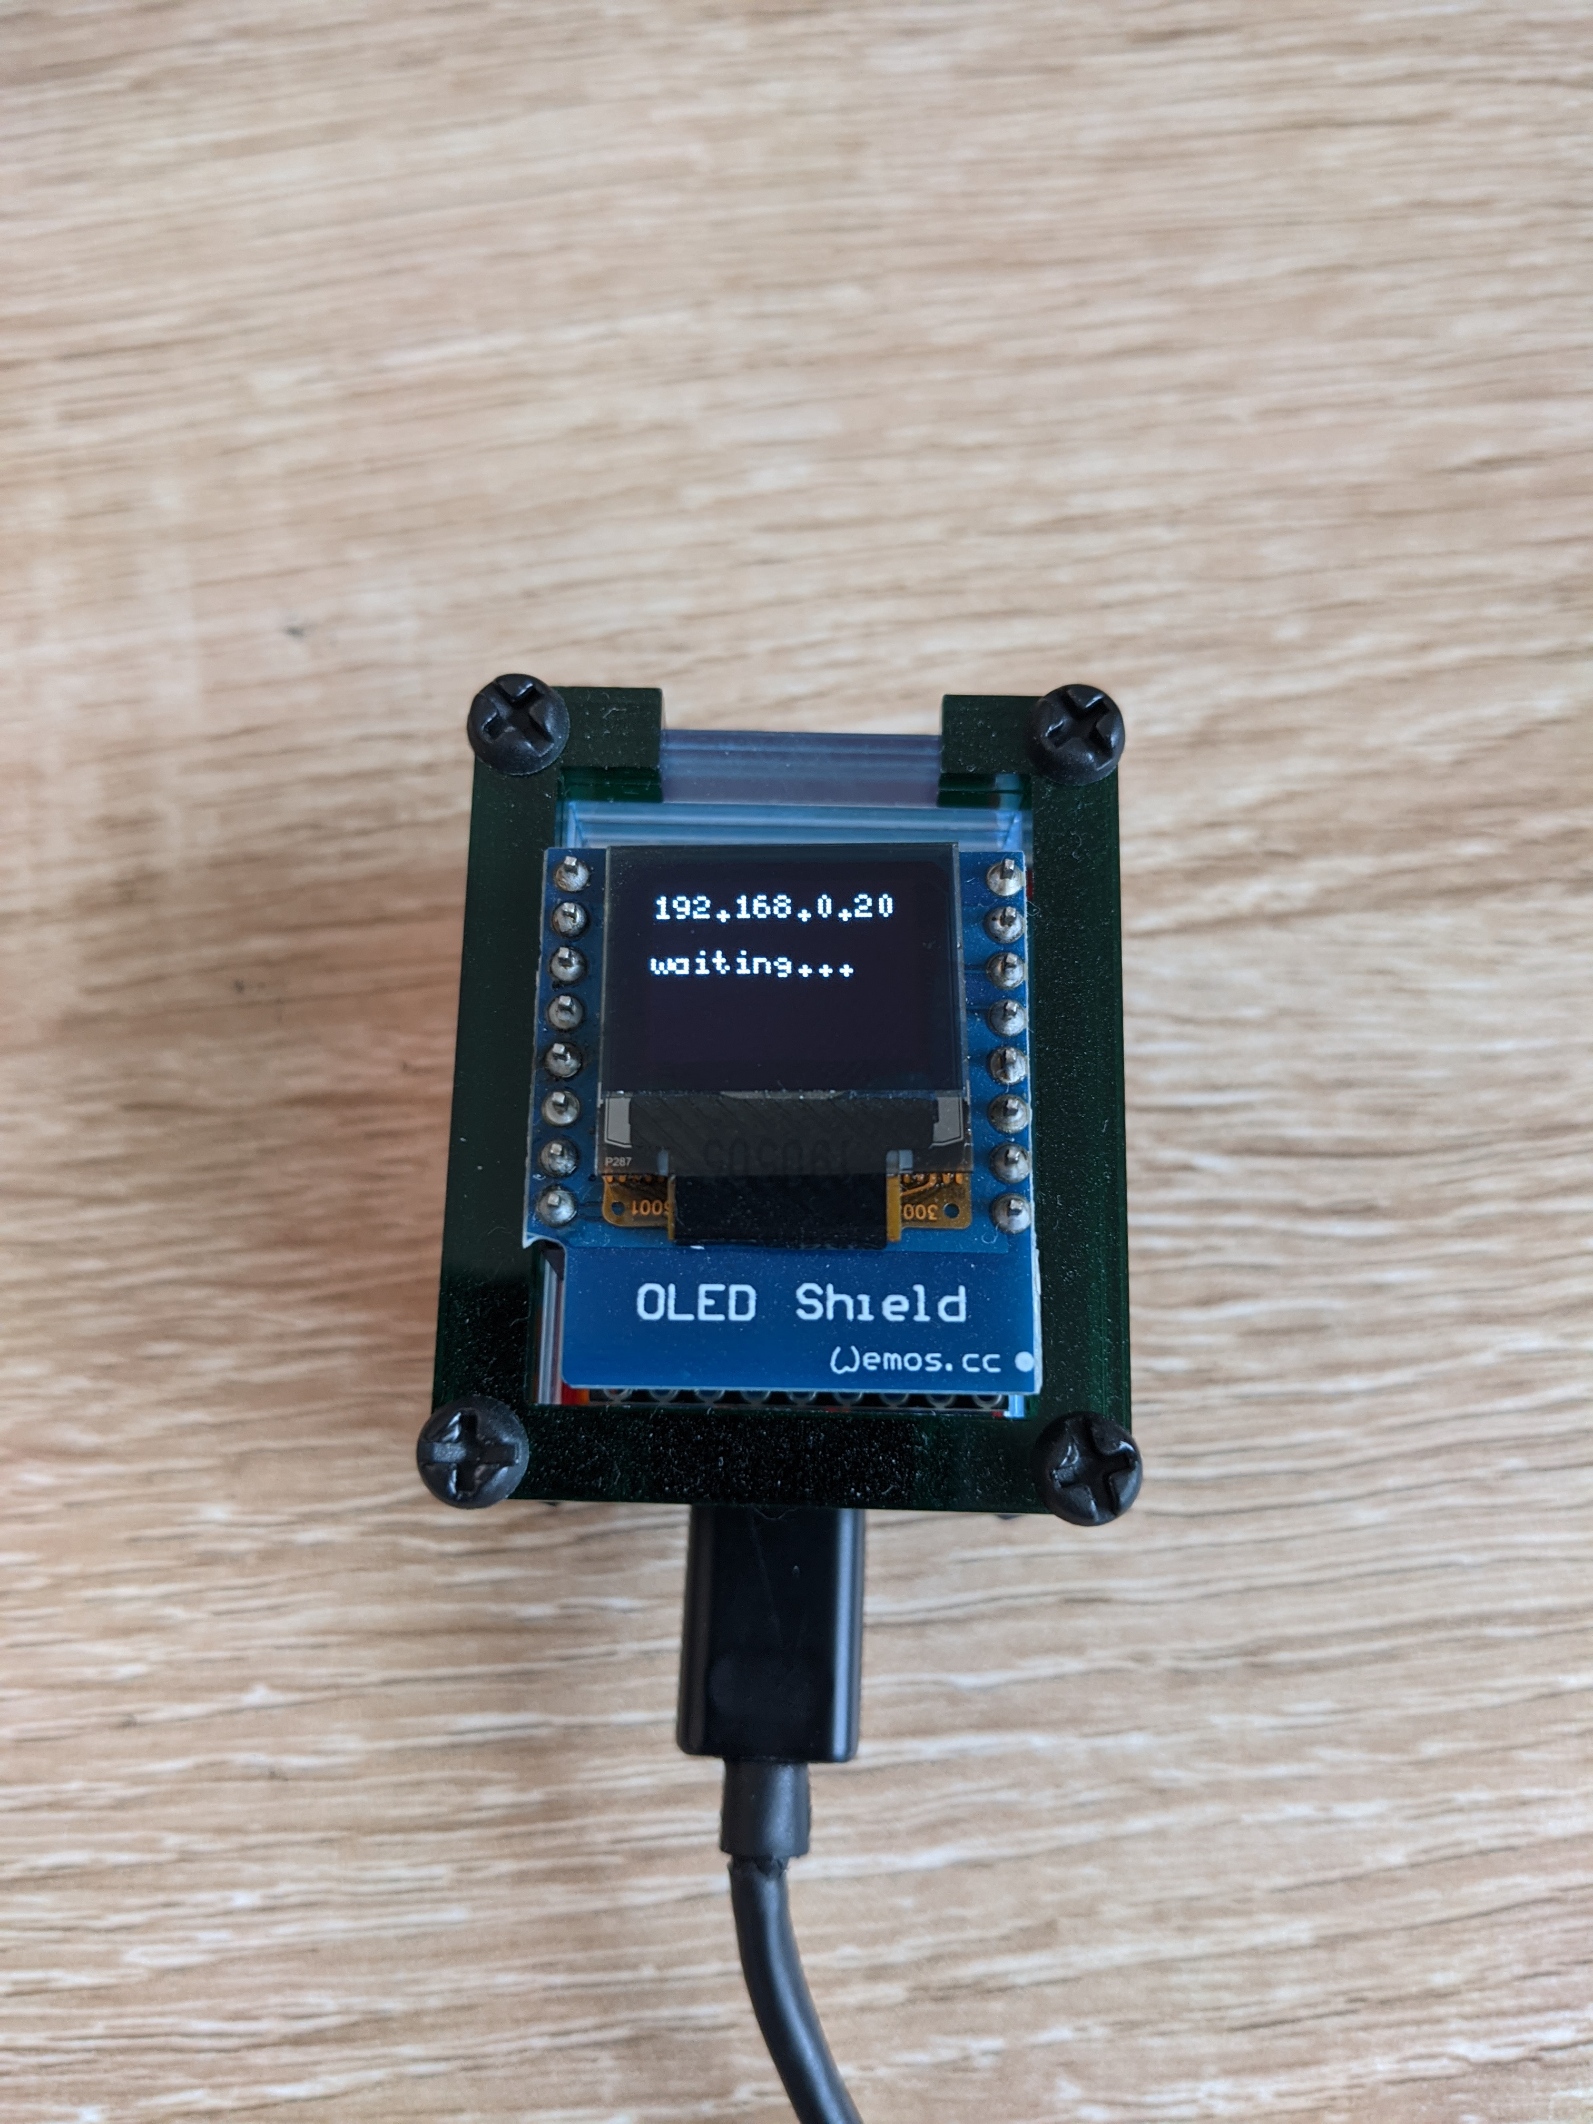
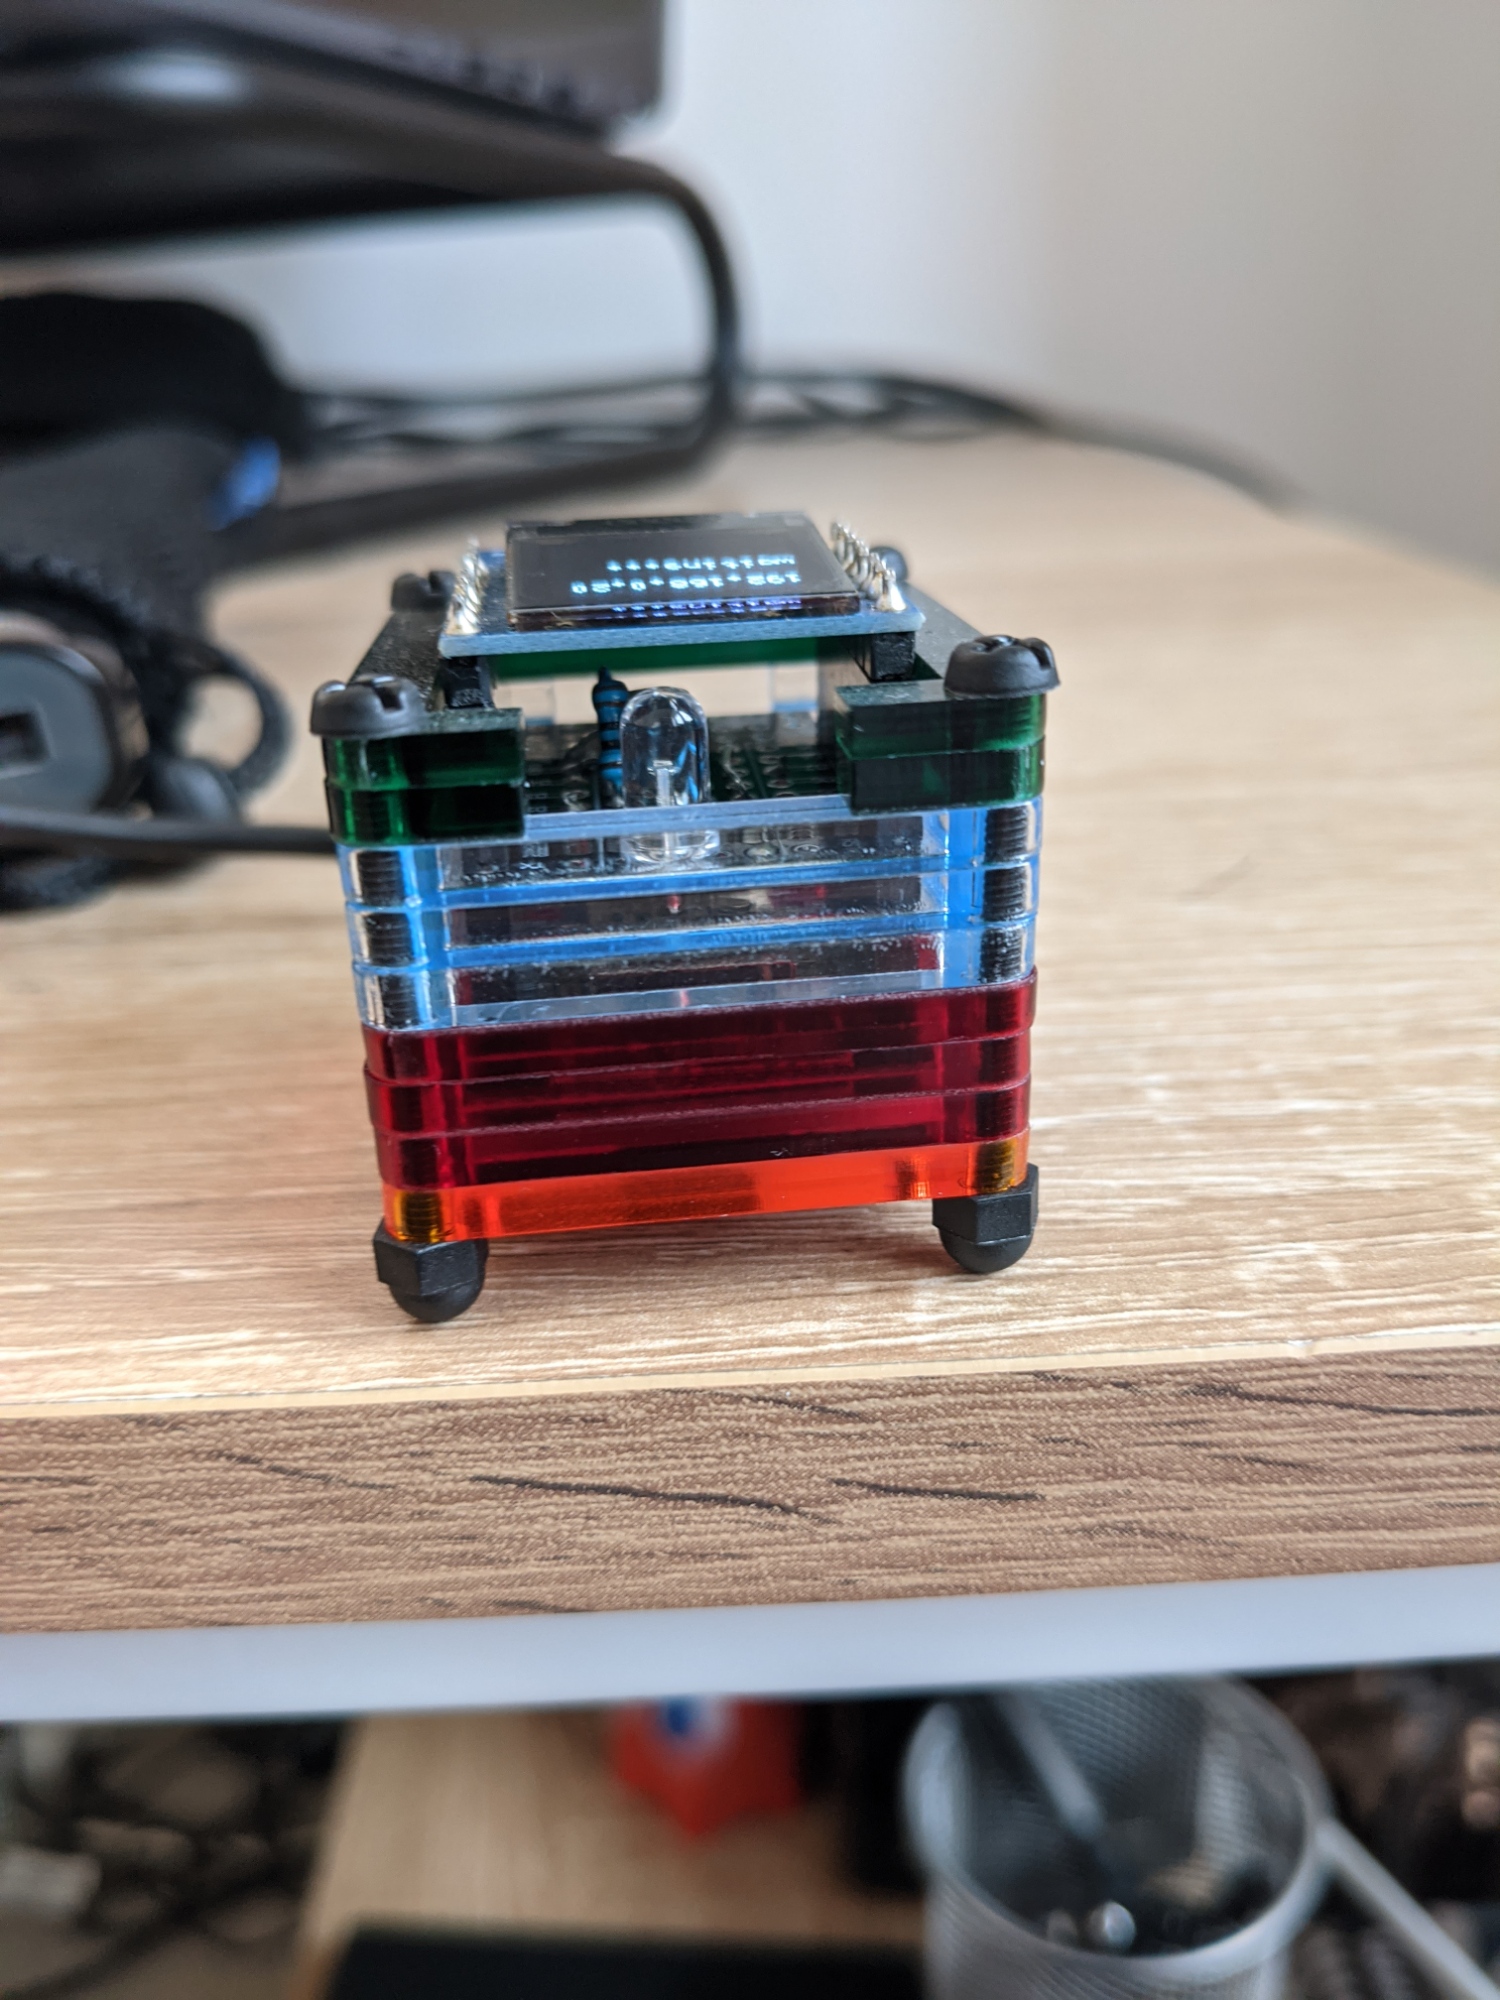
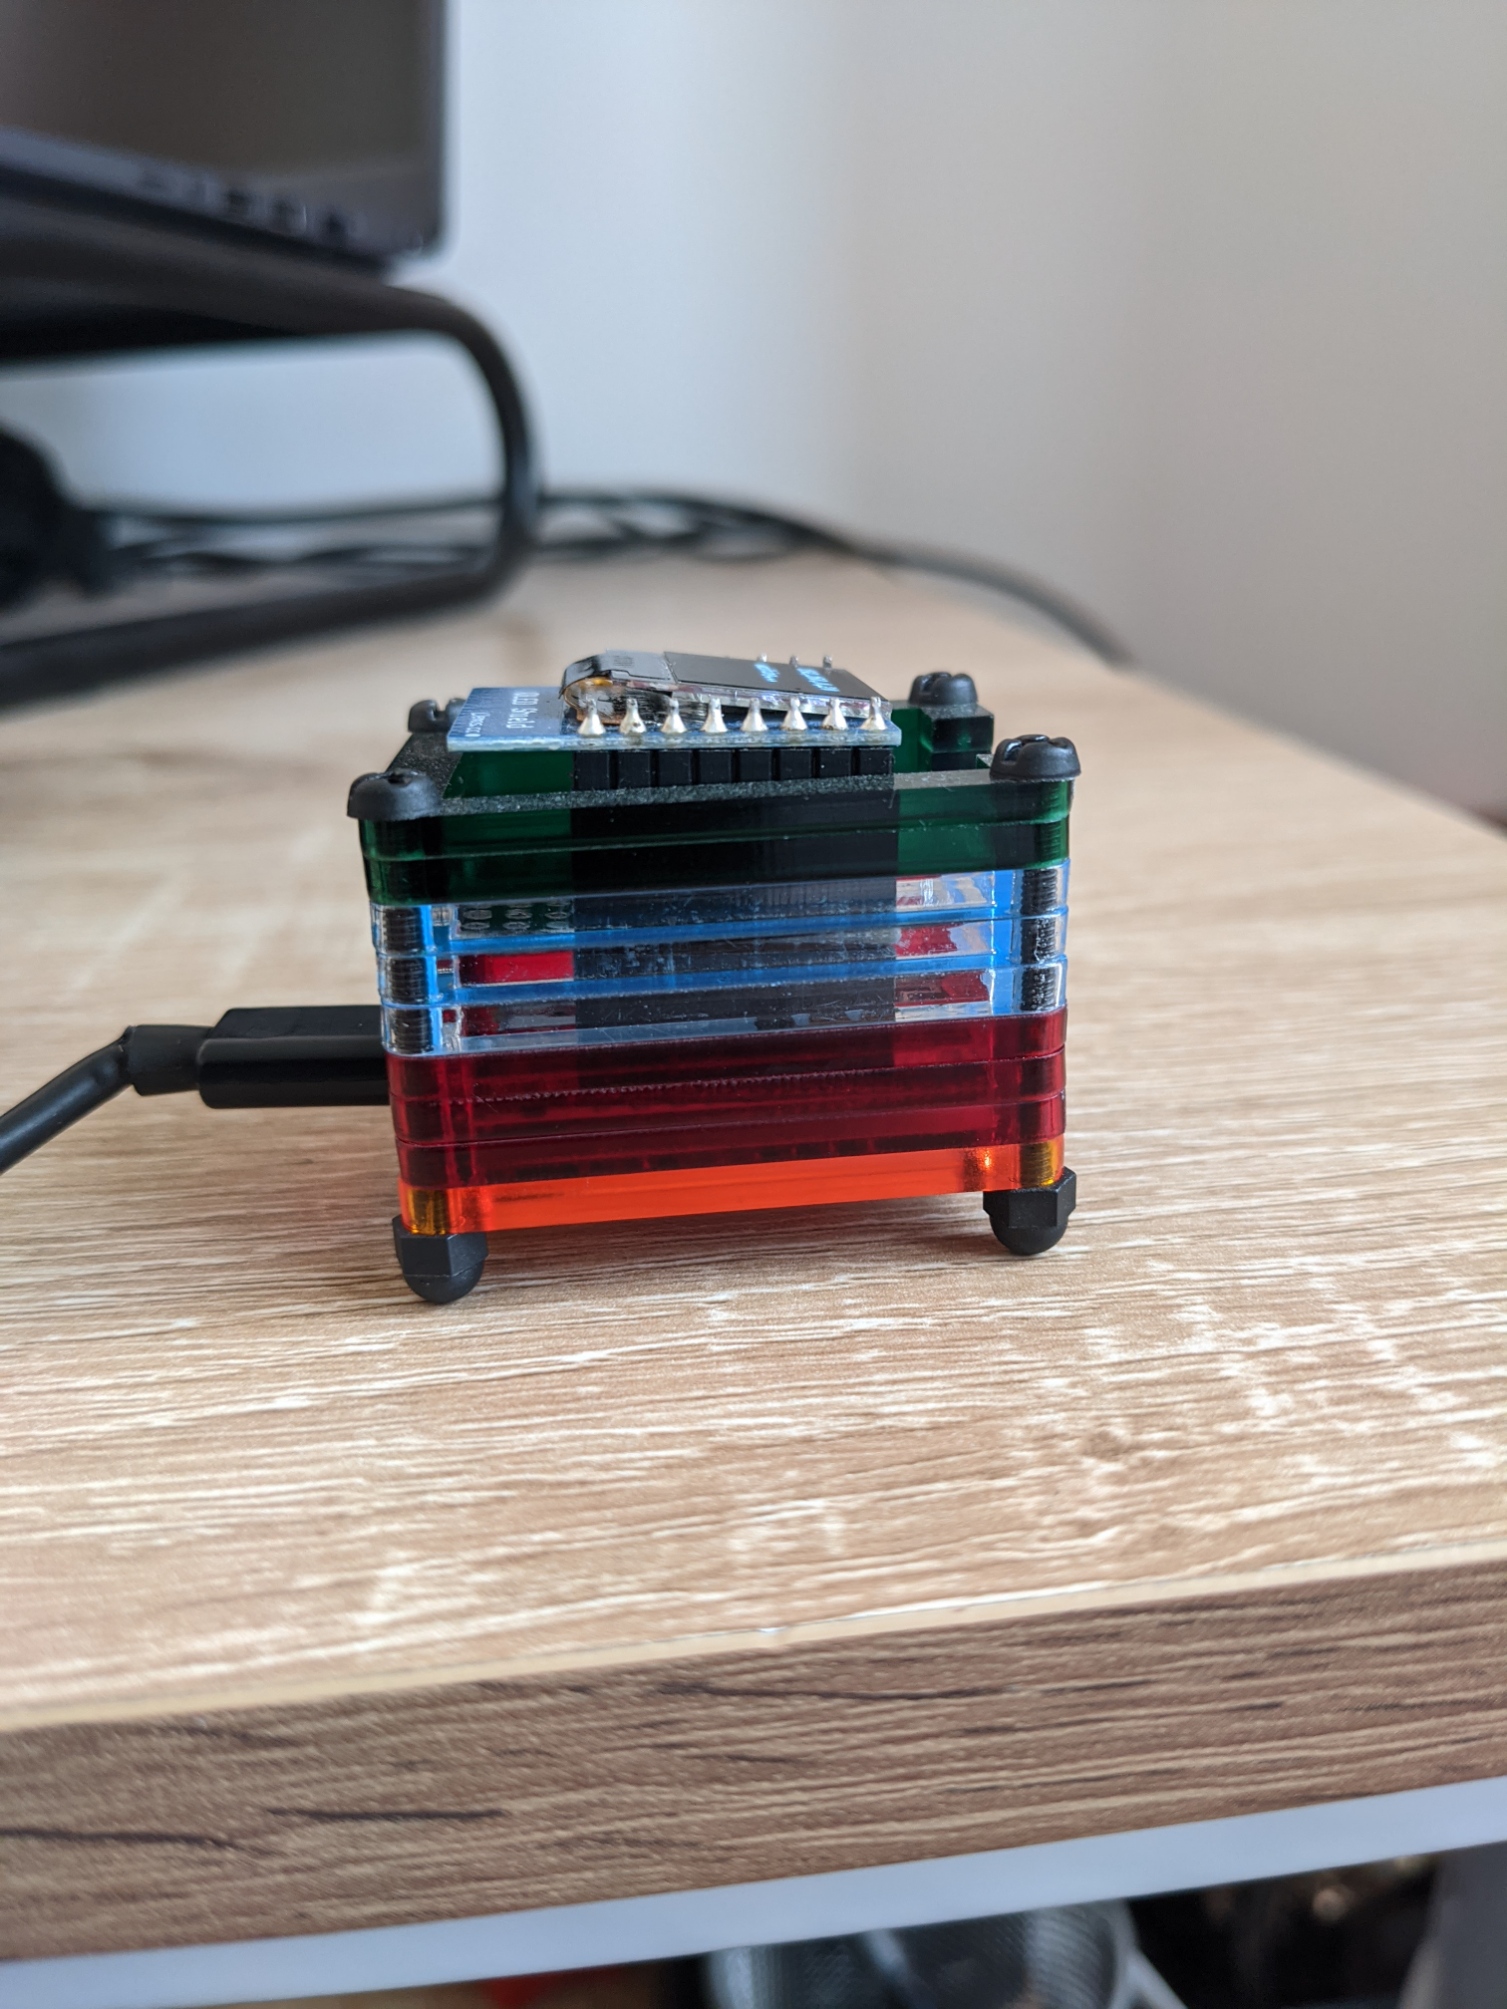
Although the code will work on any ESP8266 device I decided to get a WeMos D1 Mini because it has a number of accessories on stackable boards. For this project I got a protoboard which I’ve got the IR remote and receiver soldered onto and then on top of this is a tiny little OLED screen which I use to display the IP address of the ESP8266 and also to display what the last command was sent to the i-cybie. On ebay I also found these neat little stackable layers that the whole thing can sit in that gives it a bit more of a professional finish.
In order to record and then send out the IR commands from the ESP8266 I used the IRremoteESP8266 library. I used the IRrecvDumpV2 example sketch that comes with the library to record the codes from the remote, it dumps IR codes to the serial which I then just hard coded into an array in the final program.
To control and display some text on the tiny display I’ve used the u8g2 library, it has a huge range of fonts/sizes and supports a majority of the displays you can get for the ESP8266.
The only real issue I have with the device is that range of the IR LED I chose is rather short, so next time I may put multiple LEDs into the blaster, or actually pick a better IR LED, not just one that happened to be in my spare parts box.
Angular Front End
Although I used to do some web development when I was a developer at Sky straight after undergrad, it’s been quite a while since I’ve dipped my toes in the new Javascript front end of the week. This was my first real project using Angular and I’ve got to say it made it really easy to develop a fairly modern looking application.
The application itself is running on a Raspberry Pi Zero (another find from the spare parts draw). For a small app like this it’s plenty powerful enough.
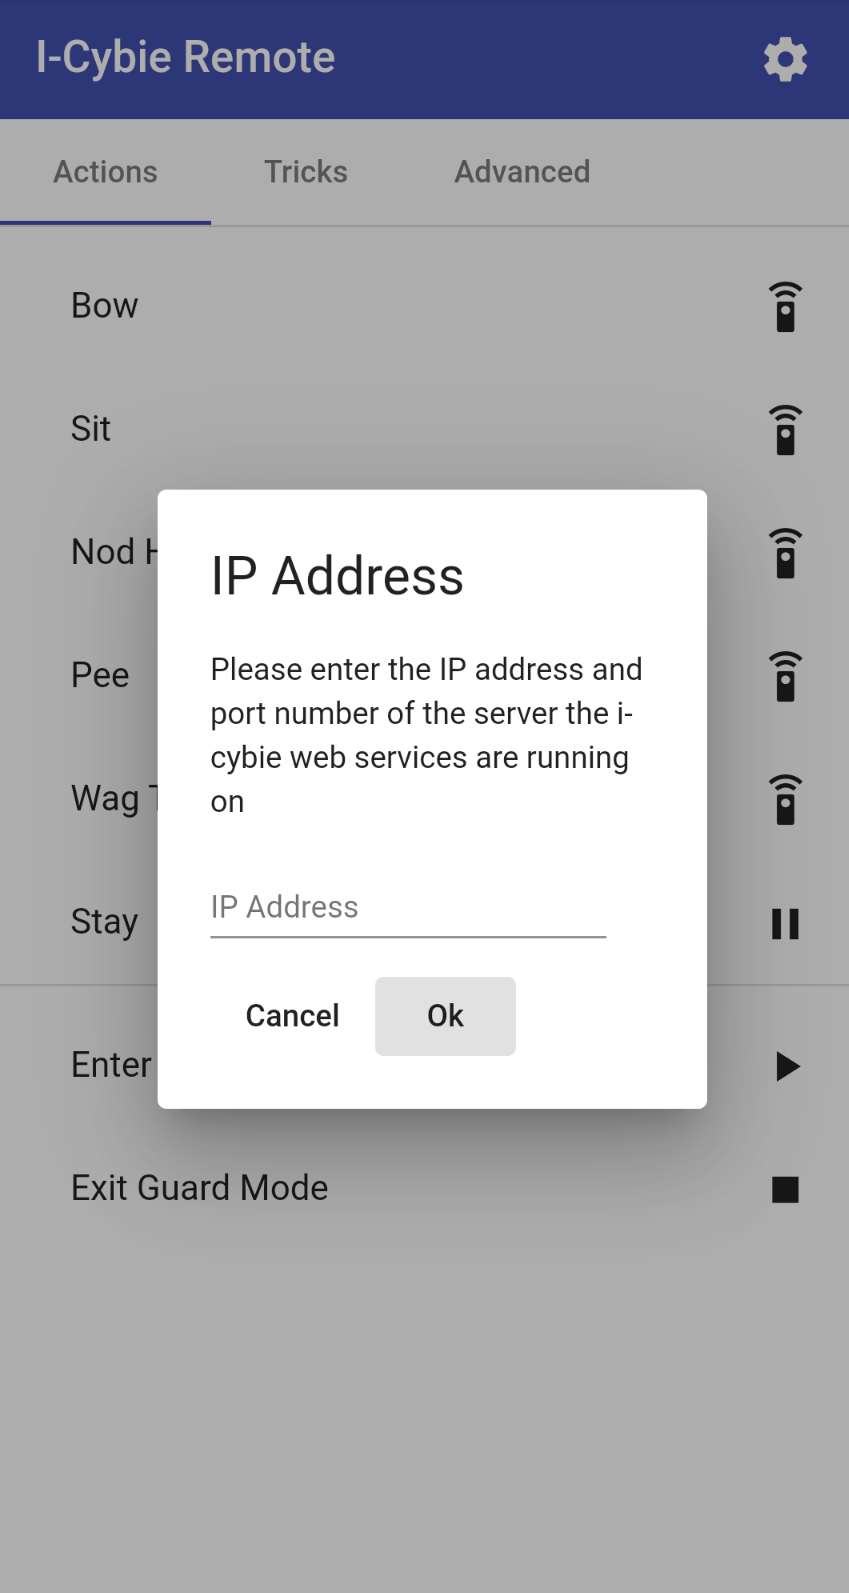
The first time you load the web app it asks for the IP address of the IR Blaster device, once this is entered the first time it is stored in local storage in the browser so it won’t ask you the next time you load the site. There’s also an option to set if you have the walk-up charger for i-Cybie, if set the app will display some more commands only applicable with the charger.
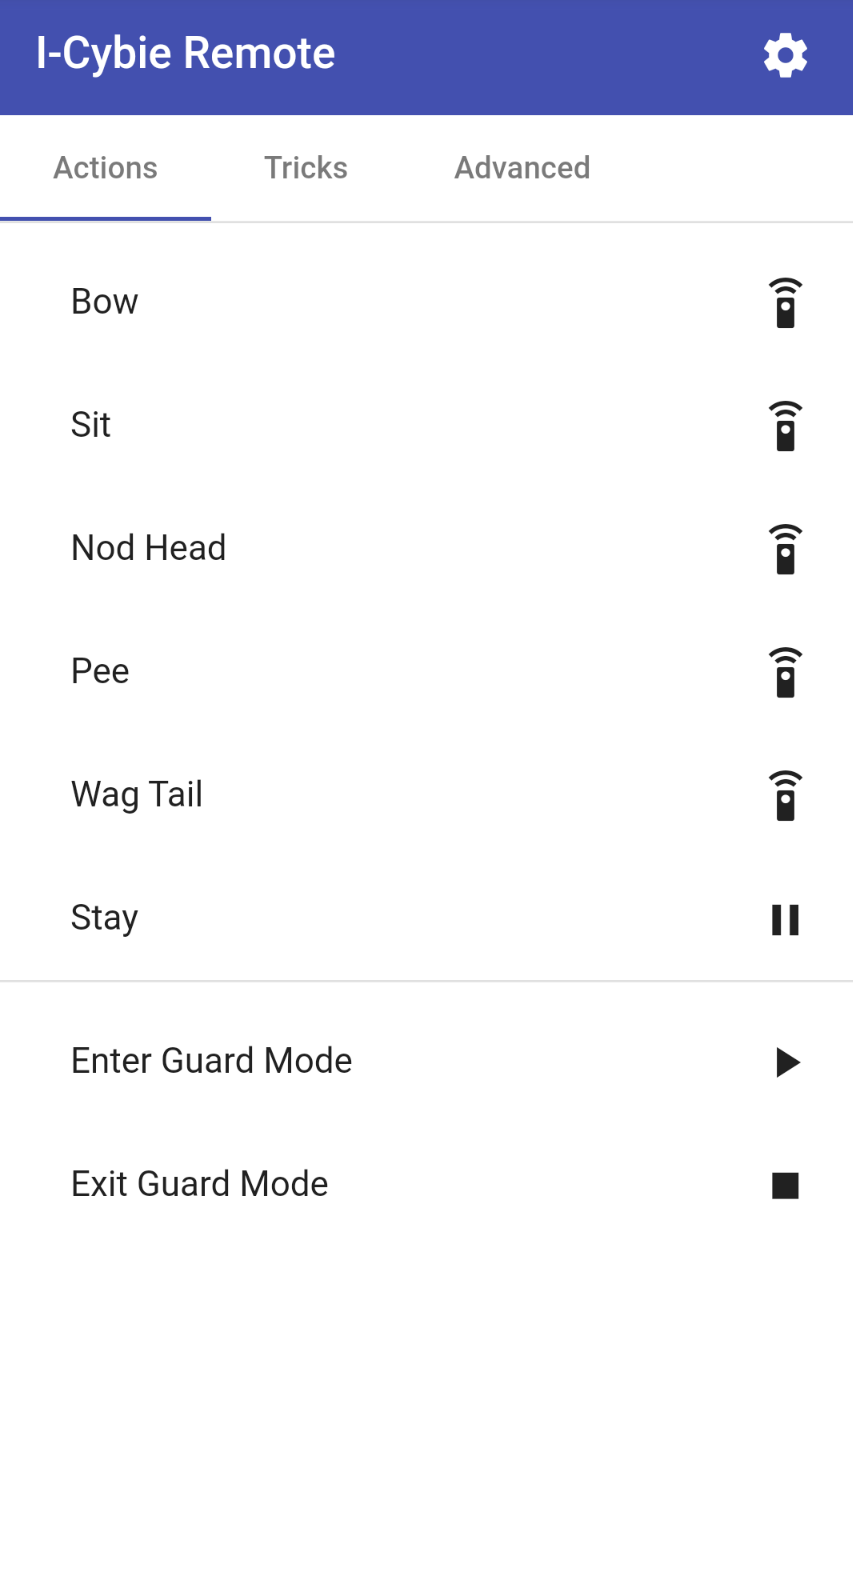
The Actions tab shows the basic actions that the dog can do, including taking a bow, sitting and wagging its’ tail. Pressing the remote icon on the right will send the request to the web services running on the ESP8266 that will in turn send the correct the IR code.
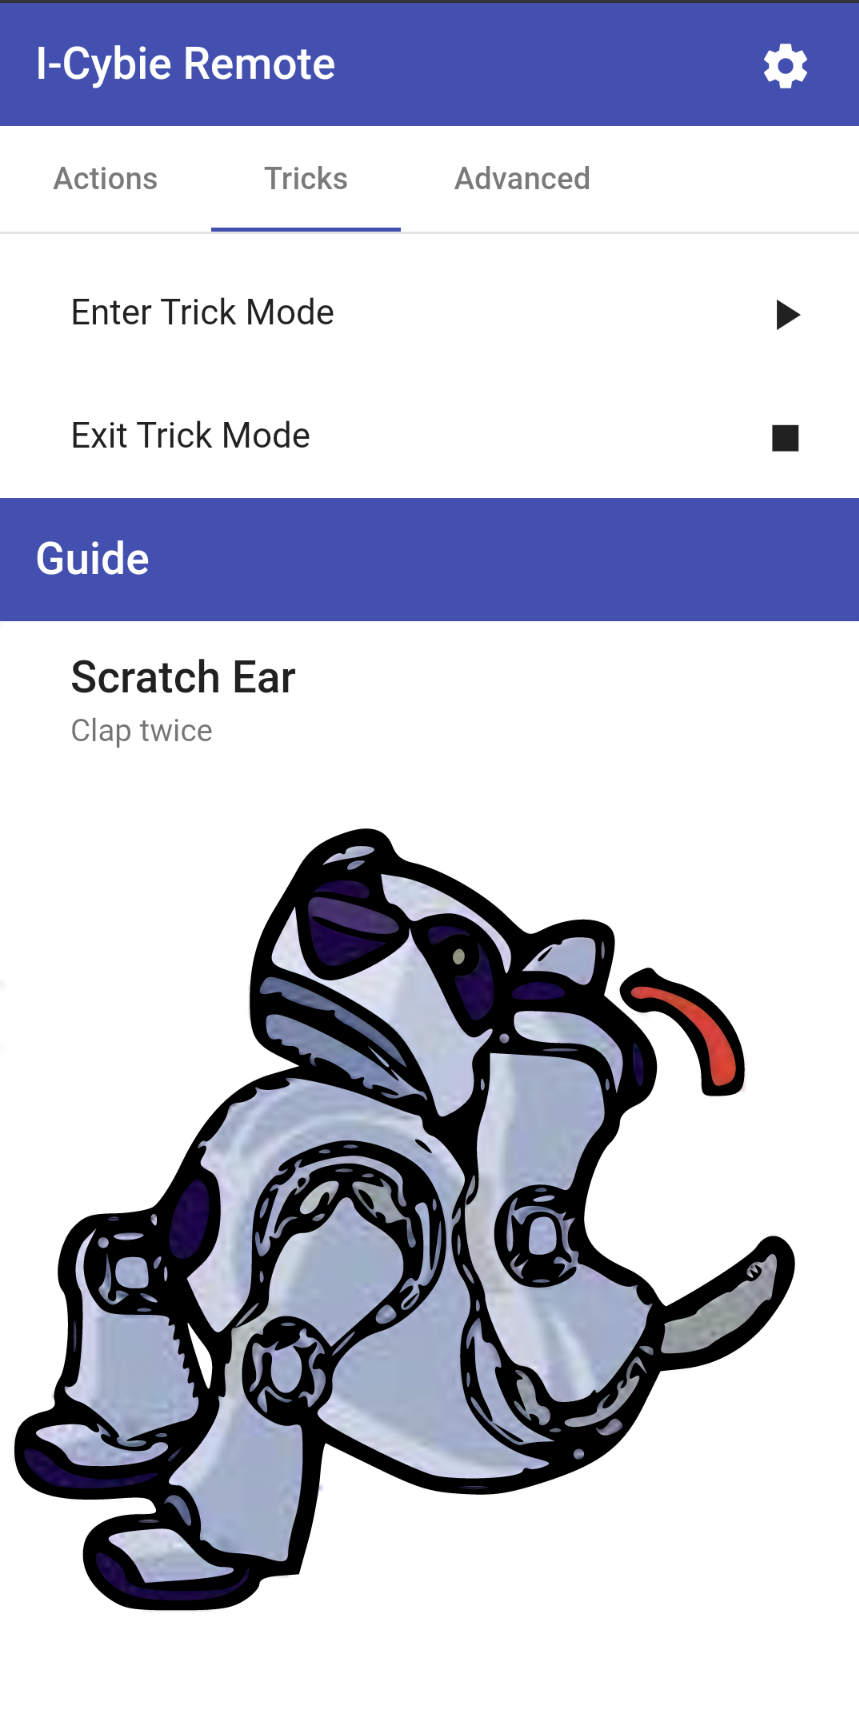
The Tricks tab is a little different in that it contains only two commands, Enter Trick Mode and Exit Trick Mode. When put in Trick Mode the i-Cybie will stop and listen for a particular sequence of claps that will make it do a certain trick. If I wanted to spend more time on this I could’ve made the web app play the clap sequence itself, however instead I added the Guide section to this page that displays a picture of the dog performing the trick and the sequence of claps needed for it. For the images I found a pdf of the manual, cropped out the images of the dog performing the trick and then just ran them through Inkscape to vectorise to make them look a little bette.
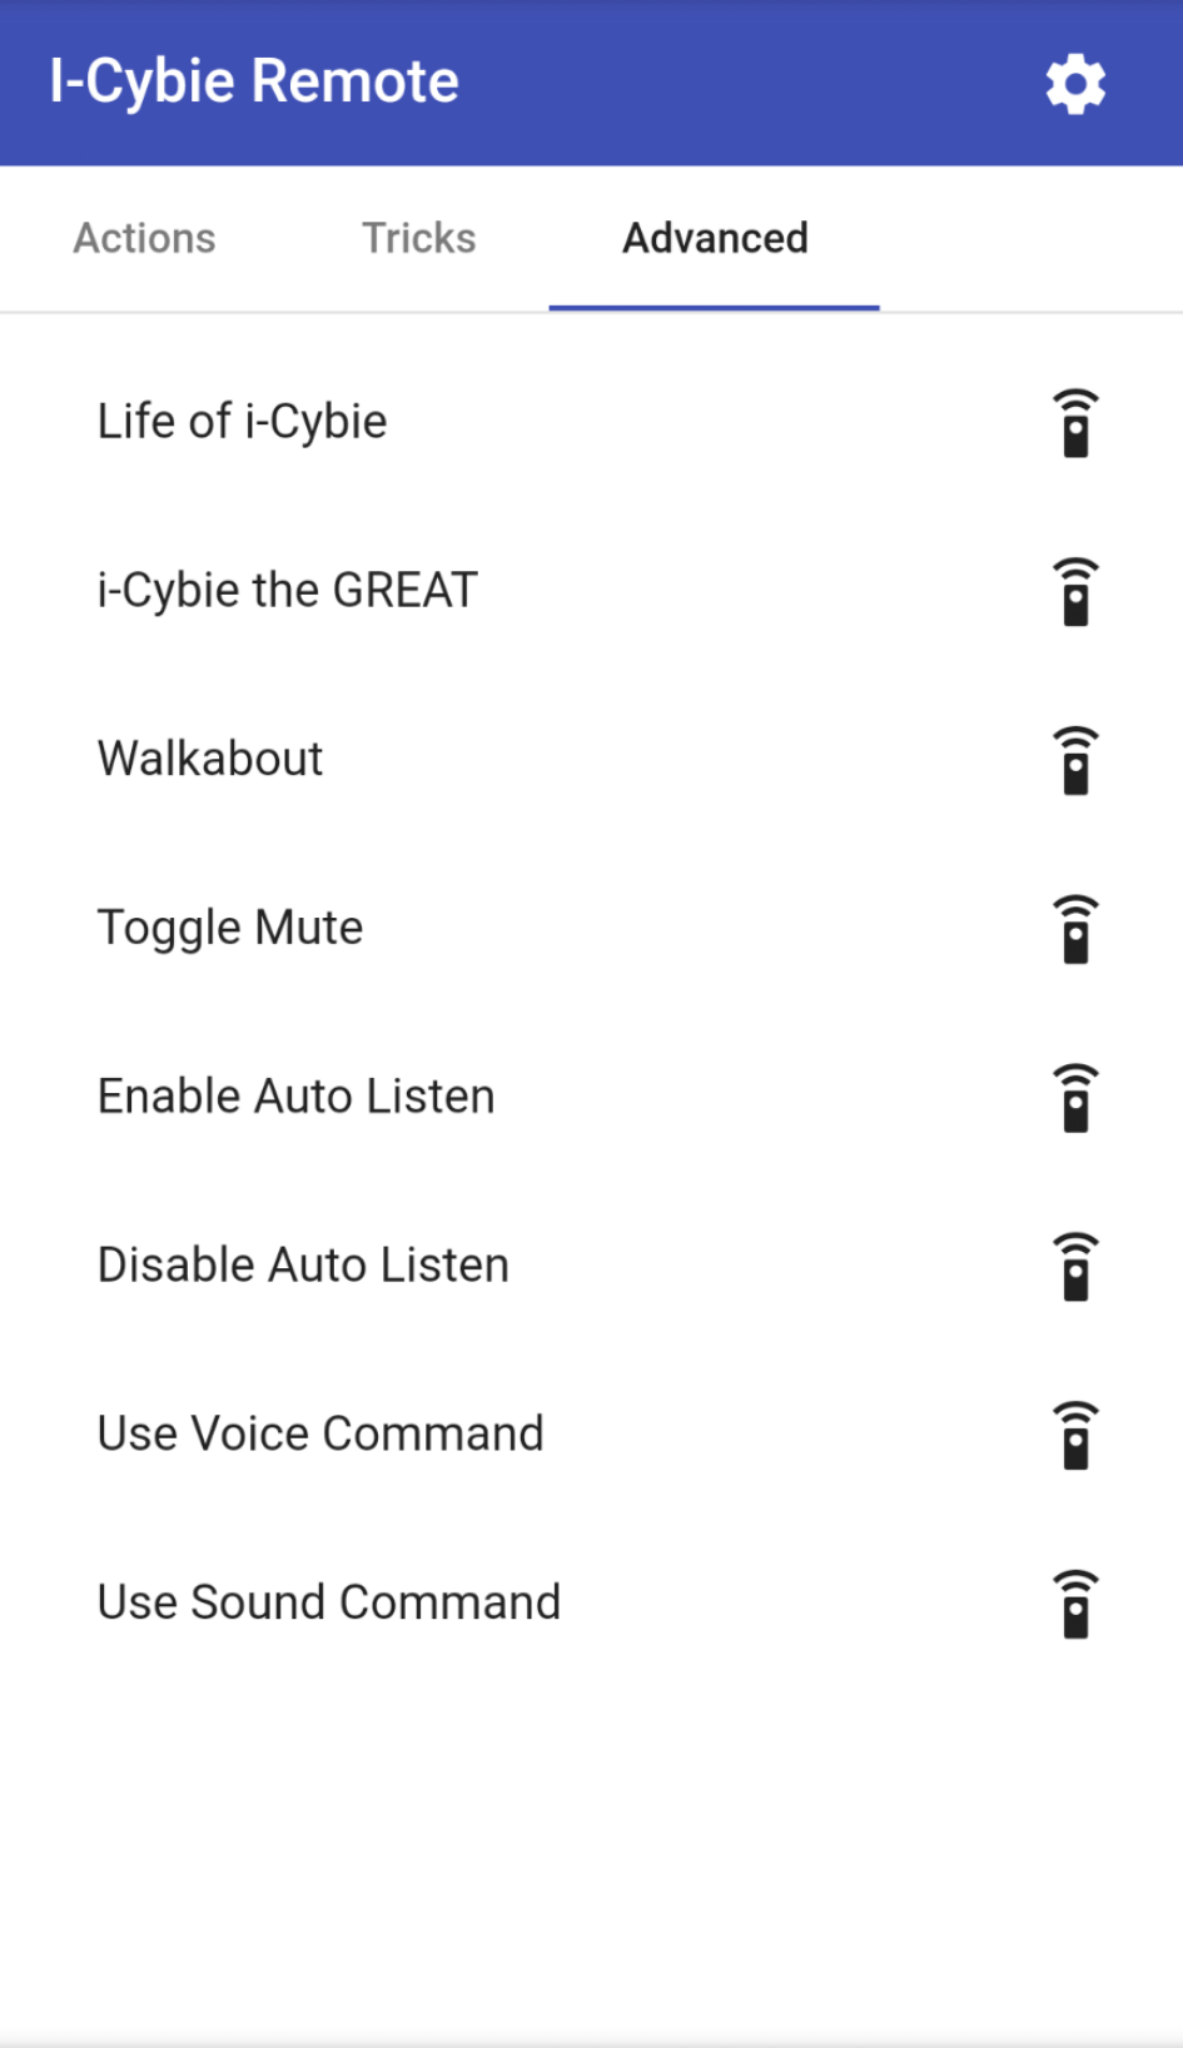
The Advanced tab contains a couple of commands that puts the dog into demo modes as well as options to enable/disable the microphone and audio of the dog.
Code
All the code is available with my standard do what you want and I accept no responsibility if this damages your i-Cybie license
The code is in two repositories, the Angular frontend is here: https://github.com/davidatroberts/i-cybie-web-remote
The ESP8266 code is available here, you’ll just need to set the ssid and pwd string: https://github.com/davidatroberts/i-cybie-esp8266-webservices
If you have any questions feel free to ask!